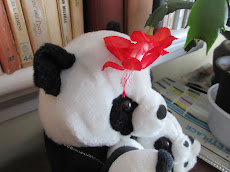
Just after Christmas, JT started giving the cats and me an official daily report on the increasing minutes of daylight -- a reminder that I'd need to work fast to capture a scene in my studio corner that has fascinated me since the days turned dark. Here's the scene -- against a bulletin board, the intriguing shadows of two randomly placed bows and some roses hanging to dry.

I knew that the success of my painting (in my eyes at least) would depend on an exact placement of the objects and shadows and that some artists' techniques I rarely use would be needed. You're probably familiar with the first, a stereotype of artists in cartoons. You hold a pencil or other straight-edge at arm's-length as a guide to eyeballing distances and angles in the original set-up. Inch by inch, I developed a small study, and this showed me that for the effect I wanted, I'd need to use a narrower format than usual (13" x 26" vs. my usual 20" x 26").

In another few breath-holding sessions, I transferred these shapes and lines to my painting surface with a technique called "scaling up" -- one inch on my study equalled two inches on my paper. Meanwhile, I'd realized that if I added the stems and shadows as a final stage, they'd look tacked on -- so I made an early decision to work dark to light, leaving the defining darks intact and building up light tones around them -- quite exciting! You can view the whole process here .
Here on the easel are the original study and the final painting:

And here on its own, is the finished painting, "Studio Corner - Hanging Out to Dry." (copyright 2011)
That's really neat, Kelly! Interesting graphically, and your process is always fascinating to me (who just aims and fires). Have you set a price on it?
ReplyDeleteAnd I must say how much I LOVE the tulips coming up through the snow - excellent photo and much better than similar shots made by others (myself included).